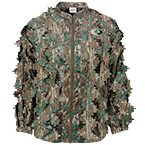
Ive had this old 870 20 gauge since 1996, and its seen its fair share of blood over the years of my first limit of squirrels, rabbits, my first turkey, a groundhog, and even a raccoon. The gun originally had a 28'' barrel on it, but I put it up for trade to get a 21'' barrel and thus started the old 20 new turkey gun. This is the second 870 I had made the decision to paint so I had a little experience and had an idea of what I really wanted in my head. I took several long looks at the old Mossy Oak Greenleaf and the current Mossy Oak Obsession to gain my inspiration.
Basicall any camo spray paint job you will need the following, then you can add what you want after you have the necessities.
-Masking Tape to mask off areas not to be painted
-Disposable gloves to keep your oily hands off the gun while handling so you can ensure the paint adheres well.
-Foam or some type of filler to plug barrels, ejection ports, and the like
-Fishing line or wire to hang gun parts while painting/drying
-Variety of Sandpaper to strip down metal and wood
-Alcohol or mineral spirits to take away wood and metal dust and fingerprints
-Whatever colors of paints you desire. I prefer the Rustoleum or Krylon flat camo colors or both.
Some other things you might want but may not be a necessity
-Clear matte finish to protect final project
-Cardboard to cut leaf stencils, I like using old soda boxes
-Twigs, leaves, and grass to make background details
-Fine bristle paint brush
-Sharpies, or colored pencils to add fine details
So now that you have your shopping list, you should be in it no more than about 30 dollars at this point. You might even have some of this at your house.
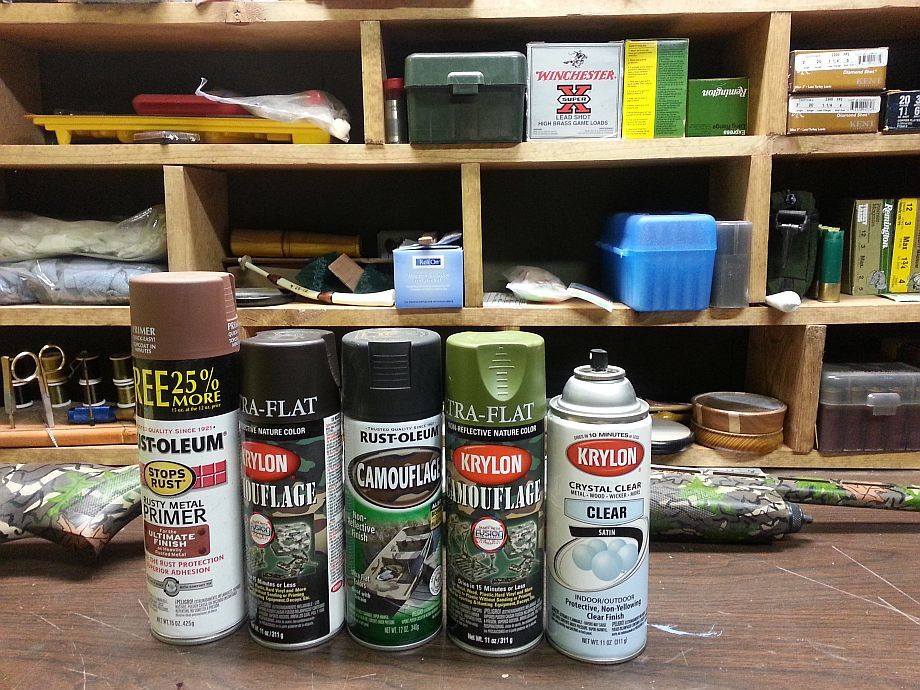
Here is the paint I used, only color not pictured is the Khaki, I finally finished that can and threw it way before I took the picture.
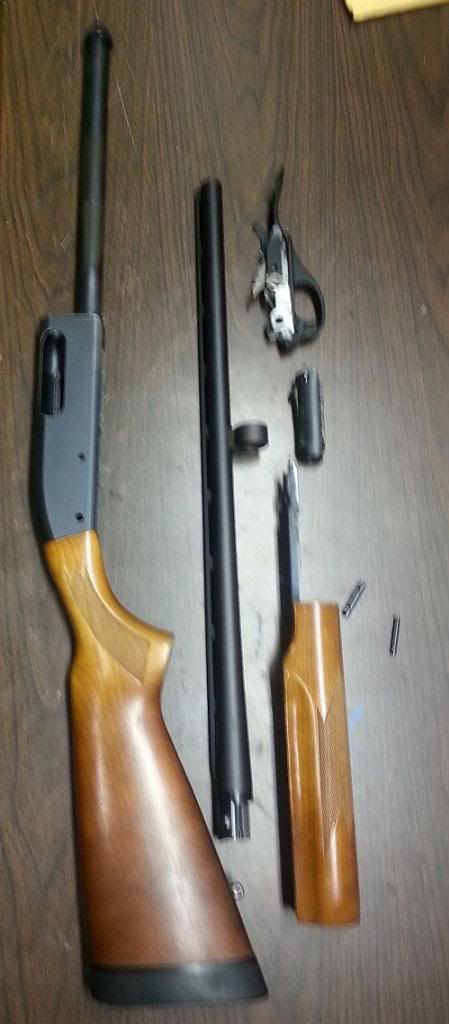
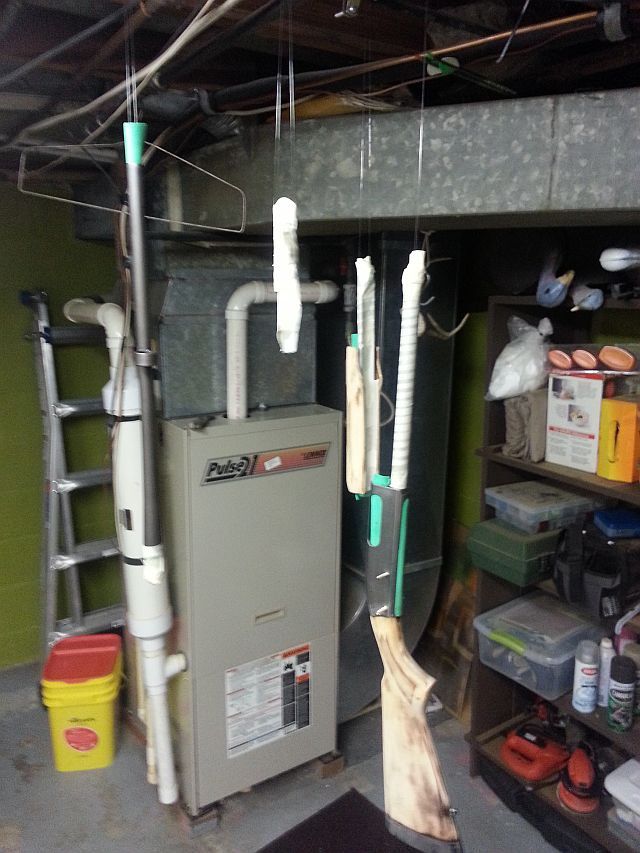
Here is what the gun looked like before I started stripping it all down. Notice if you will it has been completely disassembled except the butt stock.
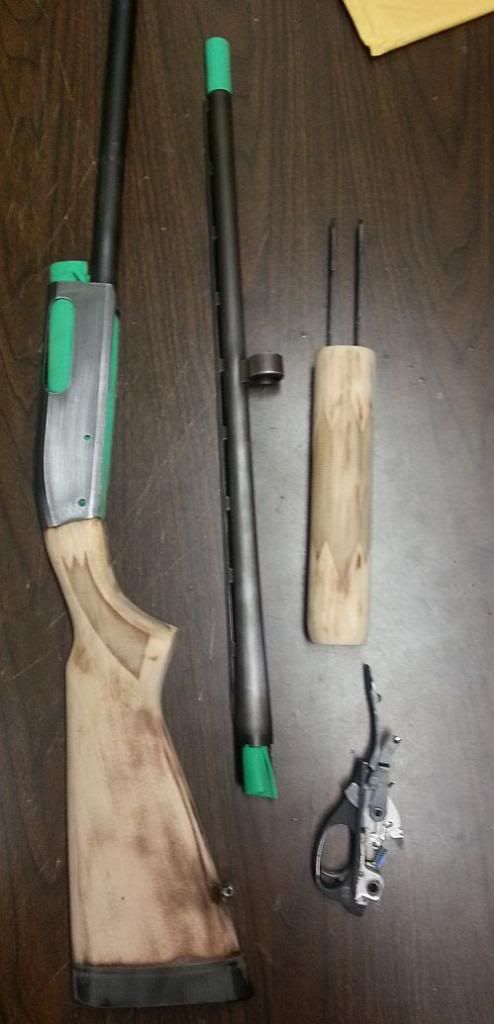
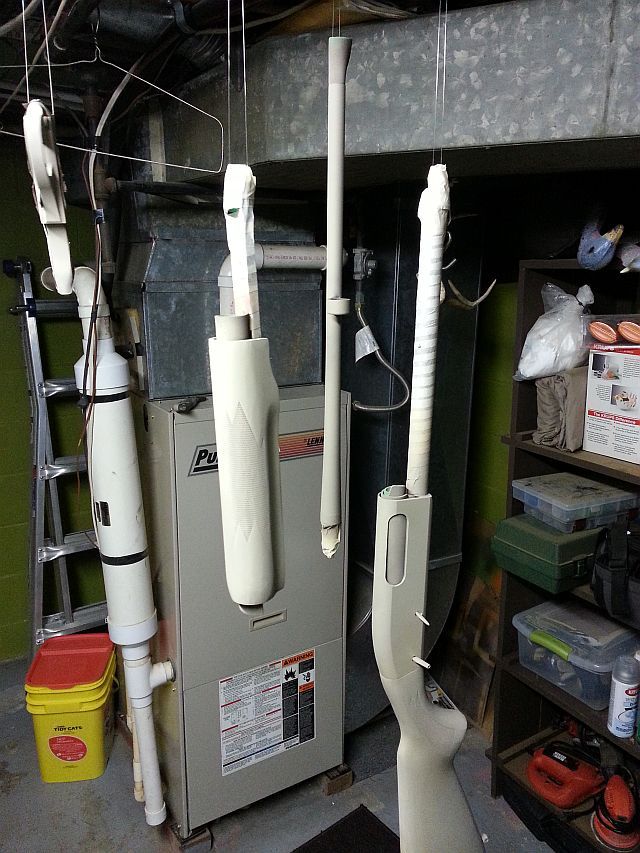
This is basically the way it should look after you've hit it with the sandpaper, and then rubbed it down with the spirits to fully prep it.
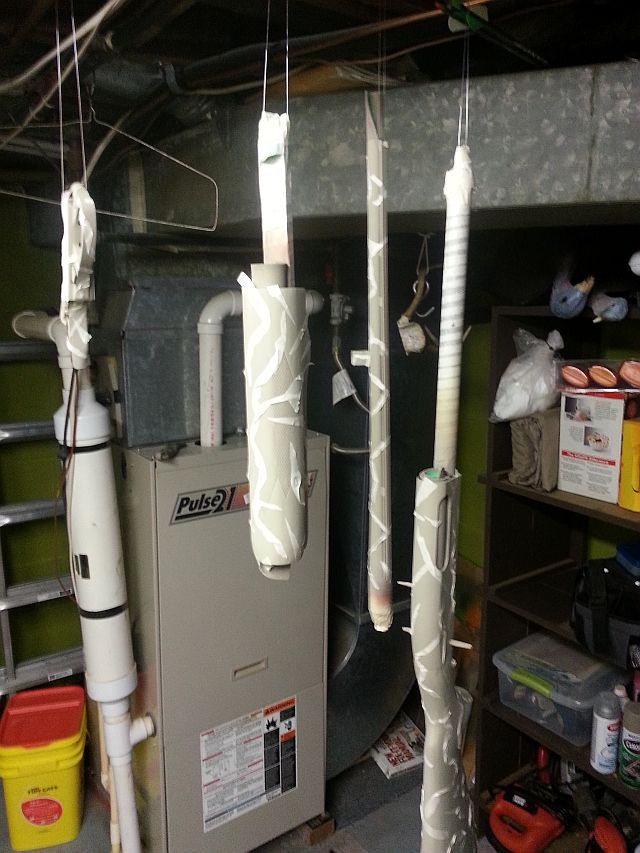
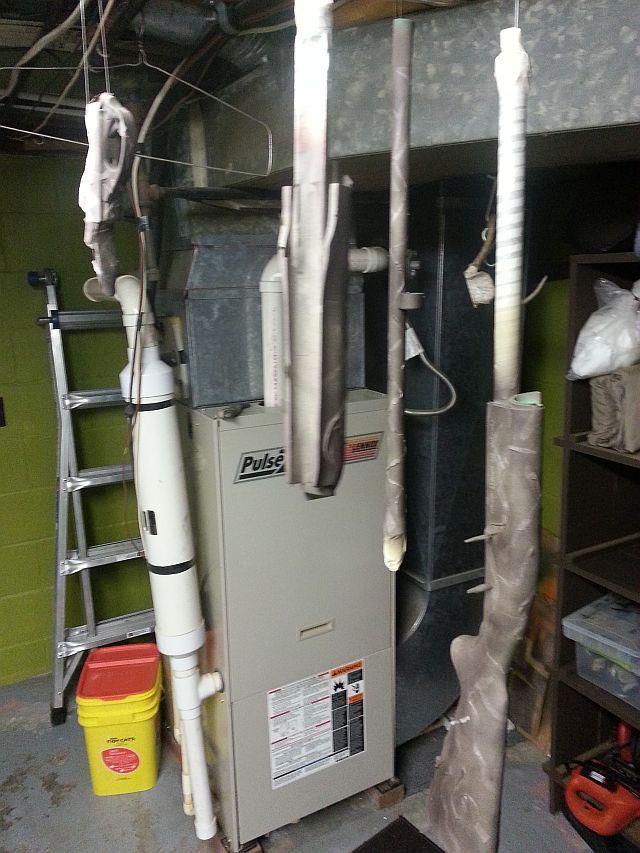
Next up you want to stuff the barrel, ejection ports and any other holes and crevices full of foam to keep the paint where it belongs, not somewhere that will cause you problems down the road. Also in this step you want to fully mask off any areas not to be painted.
Ok, now you begin to prime the parts. Any color of primer will work, but dont go cheap, buy some quality primer. Go slow and dont over do it as its easy to make runs, but if you do, just sand it out after its dry. I allowed about 24 hours of full drying time.
After priming I began to lay my base coat of flat Khaki and again slow is the speed your looking for. Nice and even coating will do the trick.
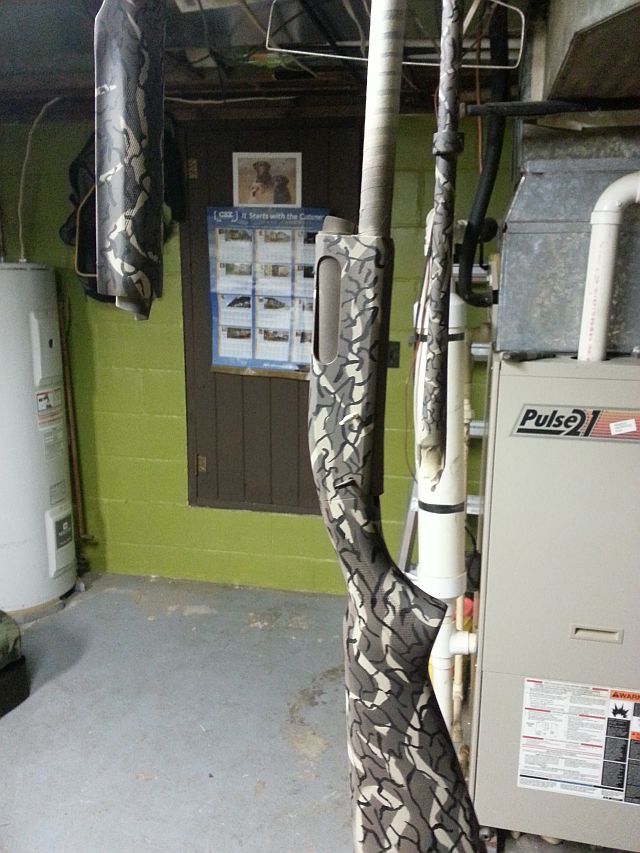
After the base coat was dry, I took masking tape and laid it down in irregular patterns on the gun, barrel, and stocks, to prep for the next step. I have seen some people take the mesh bags that oranges or lemons come in and use that to make their pattern, but use your imagination and see what you can come up with.
Next I coated the whole gun with a dark earth brown color and allowed that to dry. Then I added a little olive drab to add another element. As with the last couple of steps, take your time.
After the brown had dried, I pulled off all the tape. I failed to take a picture at this point somehow. After the tape was off, I sprayed some flat black into an old plastic bowl and used a fine bristle brush to paint bark like lines over the entire gun. This is a little tedious and time consuming, but I was pleased with the efforts. I almost stopped here, but decided I needed more.
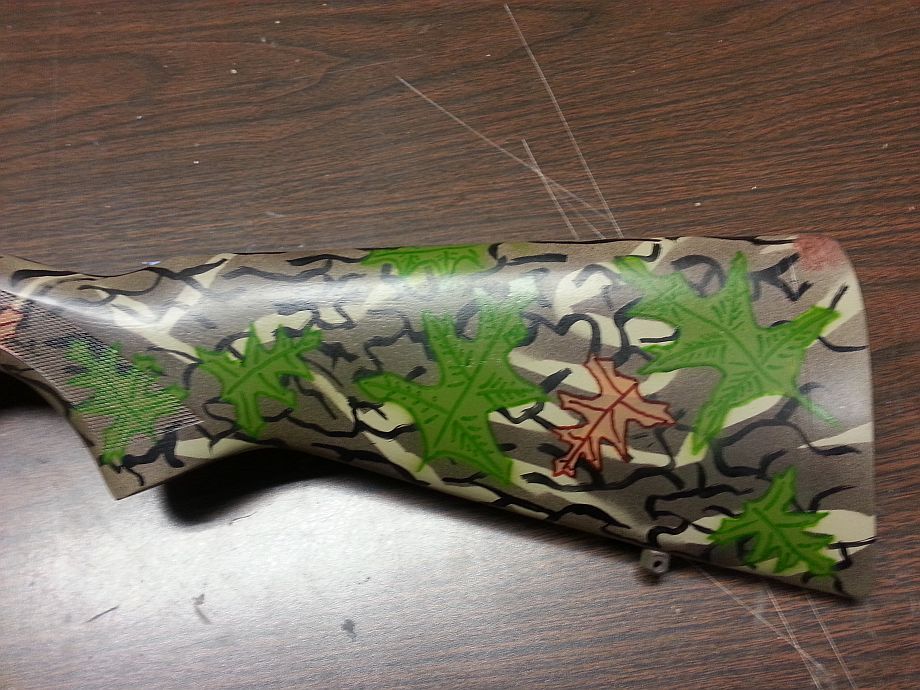
I mentioned I needed to add more, so I penciled a leaf onto a soda carton then cut the leaf out to make a stencil. If you dont think you can draw, lay a leaf down and then spray over it with paint. When it dries, you will have a leaf shape to cut out, and voila, a stencil.

At this point I basically just laid the stencil I just cut out on the gun in various places and sprayed into the stencil. I had to lay the gun on its side in this step, because it was too hard to keep the gun from moving while hanging and trying to hold the stencil in place all at the same time. I should also mention to only do a few stenciled leaves at a time and allow to dry then flip gun over and repeat. Its slower, but the outcome is way better.
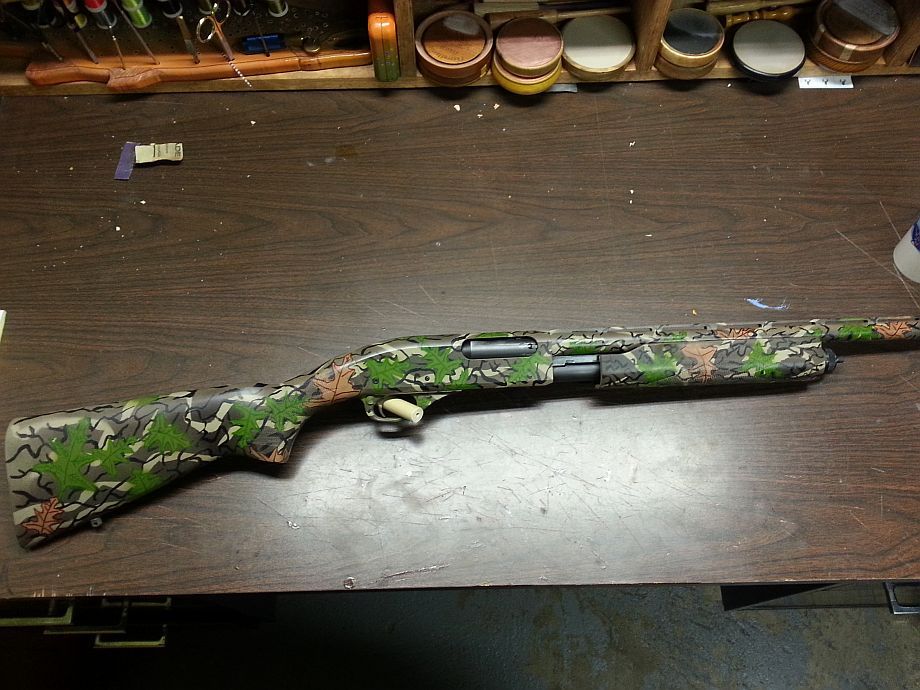
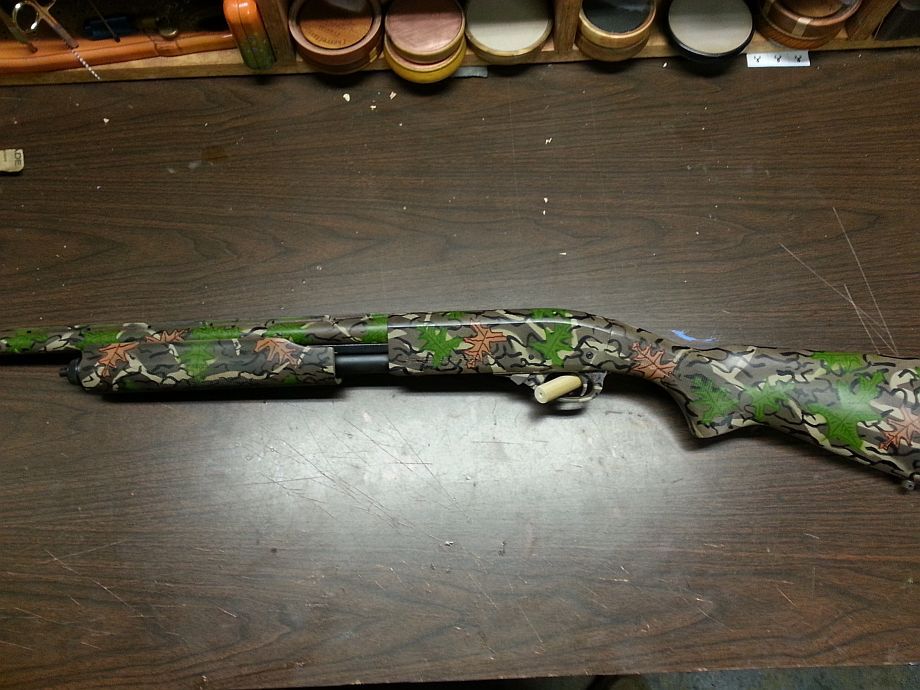
After I was content with my leaf placement, I took a green and brown sharpie and drew details on the leaves and finally I coated very lightly with the Matte clear finish to protect it. I did a light coating mainly because the matte finish will get white and frosty if you do too many coats.
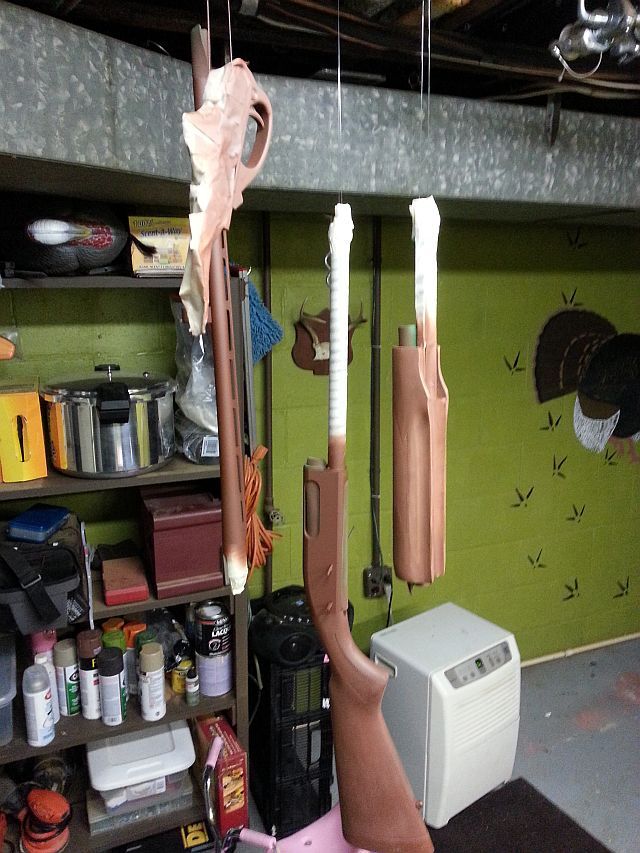
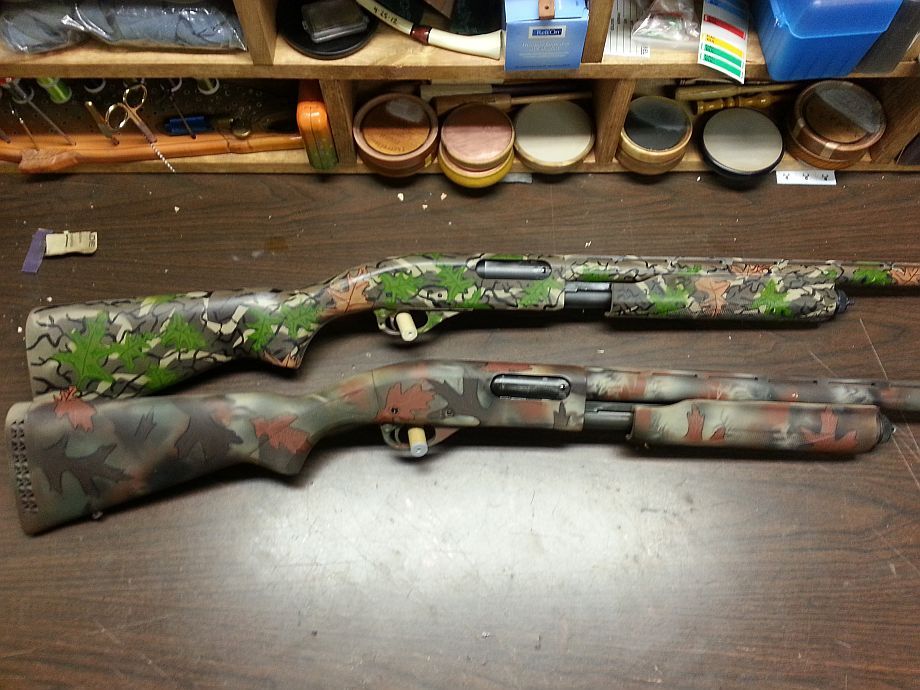
The finished project is exactly what I had in mind. I took a picture of the one I just completed, but also laid it next to the gun I painted this past summer. I like the 20 gauge much better, mainly because I took my time with it.
I hope you enjoyed my adventure into rattle can gun customization. If you ever need any help, PM me, and I ll do my best to help.